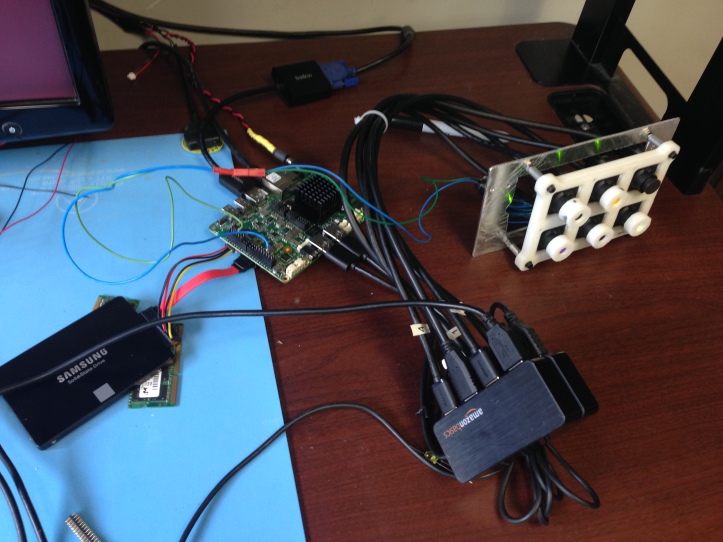
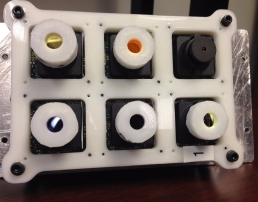
Last few months I was working to build a 6 camera high speed synchronized image capture system. We used Ueye IDS industrial cameras for this. These cameras have capability for external trigger image capture and can capture at upto 60 fps. To control these we used an UDOO x86 Ultra single board computer. This is a quite powerful computer with 2.56 GHz Quad Core processor, 8 Gb RAM 3xUSB3 and a GPU too. A generally unseen feature available in this is an arduino programmable microcontroller attached with the computer. This is an important component which we used for externally triggering the Ueye cameras. We attached a SSD too to the system. Aim of the project was to capture synchronized images at upto 20 fps.
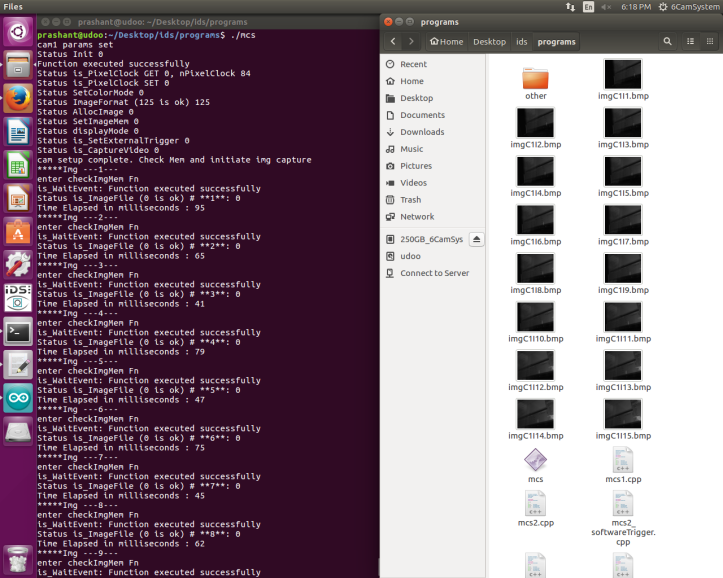
On the cameras the external trigger is separately attached (not shown in the pic) and connected to the red/black wires shown attached with the single board computer above. The Ueye cameras have their own built in library header files which can be linked to your code. It has several functions to initialize cameras, allocate memory, set trigger mode – software or hardware (external), auto correction of white balance, exposure time, etc. I made a C++ code to run these. I was programming in C++ after a long time and it was a welcome change. There was a lot to learn and it was a good exercise, debugging and building the code.
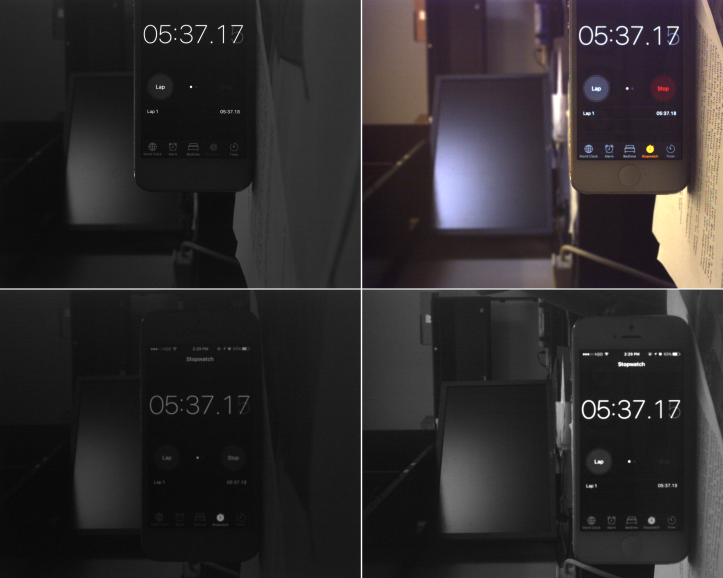
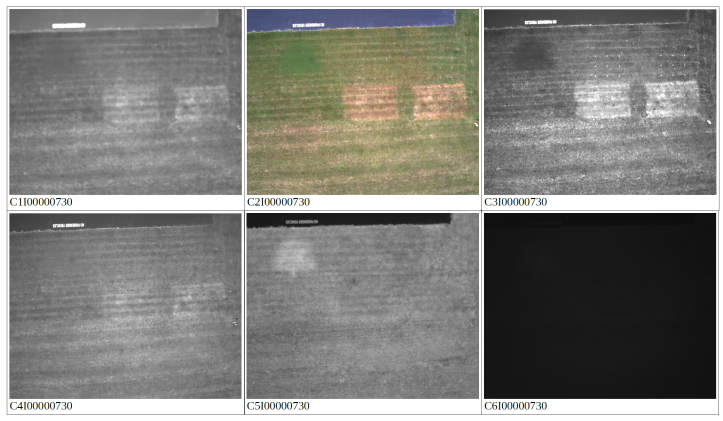
Here is a picture of testing the synchronous image capture system. All cameras take picture at the same time. Two camera pictures haven’t been shown as they were not capturing visible light.
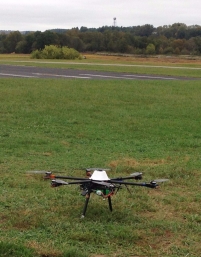
After successfully building the system, it was mounted to a hexacopter, with all the six cameras having a different filter attached to it to measure a different parameter like water content of ground, green cover, etc.
Along with the image capturing, I linked the computer with a FTDI cable to the Pixhawk controller of the hexacopter. With this I supplied the system with current GPS location. Now with this data, I have synchronized pictures along with GPS location. This was the first time working with Pixhawk and Mission Planner software of Ardupilot.
Finally we took the setup to Kentland farms to capture images. Drew, who is our pilot holding the bird, and Dr. Bird supervising the experiment.
One of the synchronized images as a result of the system is shown below:
I learned a lot of new things in this project:
- Using C++ library Boost
- Building and running C++ code in Linux environment
- Learning using Ueye library functions from its extensive library manual online
- Setting up externally triggered image capture. Setting up multiple cameras by assigning different camera ids to each.
- Learning about UDOO x86 single board computer
- Learning about Pixhawk Controller and Ardupilot Mission Planner
Update: We integrated attitude logging to the system using Mavlink data from Pixhawk. Now the pictures can be correlated with GPS and altitude data.
