For last many days I was working to get three SeeCAM_10CUG cameras from E-Con Systems to work using OpenCV along with CUDA on a Tegra TX2. I encountered many issues in doing this. One was the UVC camera resolutions issues in OpenCV 2.4. I also want to run stereo vision algorithms on the TX2, so I need CUDA. After some google search I found many other people have also faced similar issues in using cameras with OpenCV 2.4. After trying some solutions which many people have tried, I found a solution by Dave Selinger (here https://github.com/opencv/opencv/issues/6677#issuecomment-262596837). He based his solution on an OpenCV doc for 3.1 on Tegra TX1 (here https://docs.opencv.org/3.2.0/d6/d15/tutorial_building_tegra_cuda.html). I wanted to go for this combination and not the latest one as this is tried and tested by some people, so I know it works.
First I figured out which L4T version does my Tegra TX2 has pre-installed. It was 28.1. The Jetson package which goes with it is 3.1. Jetson 3.1 installs OpenCV 2.4. Since I need OpenCV 3.1 for the cameras, I don’t want OpenCV 2.4. On a Jetsonhacks.com article I found that one can use Jetson to install CUDA 8.0 on TX2, not install OpenCV 2.4 and build OpenCV 3.1 from source (here http://www.jetsonhacks.com/2017/04/05/build-opencv-nvidia-jetson-tx2/). This article also references the same above mentioned OpenCV doc. Now having fairly good confidence on this working, I proceeded ahead to install this. Since the article is for TX1 and not TX2, there were minor modifications in the steps which I followed to do this on TX2. Ubuntu 16.04 was already installed on the TX2 and that is what I installed this on.
Steps to install CUDA 8.0 along with OpenCV 3.1 on NVIDIA Tegra TX2:
- First have both – the host machine as well as the TX2, connected to internet via the same router and using Ethernet not WiFi.
- Download Jetson 3.1 on a host computer, from the NVIDIA website: https://developer.nvidia.com/embedded/jetpack-3_1 . Use the ‘Run File’ installation, I find that as the most straight forward. You’ll have to create account on the NVIDIA website. You can go through the installation pdf but it is not required if you follow these steps. After downloading the run file, run it using ‘run JetPack-L4T-3.1-linux-x64.run’, During installation steps, deselect OpenCV for Tegra installation as we will instead download and build OpenCV on TX2 ourselves. We are doing this only for CUDA 8.0 installation. I selected only CUDA Toolkit for TX2 and ‘no install’ for host machine as I already have CUDA and OpenCV installed here.
- When it asks about internet access option (step 10 on the NVIDIA installation pdf), select ‘Device accesses Internet via router/switch’. Use ‘ifconfig -a’ to list the internet network interfaces and out of them select the one which is the ethernet one and is being used. You can also use ‘ip link show’ and see the interface which has its state as UP right now (after being connected via the Ethernet).
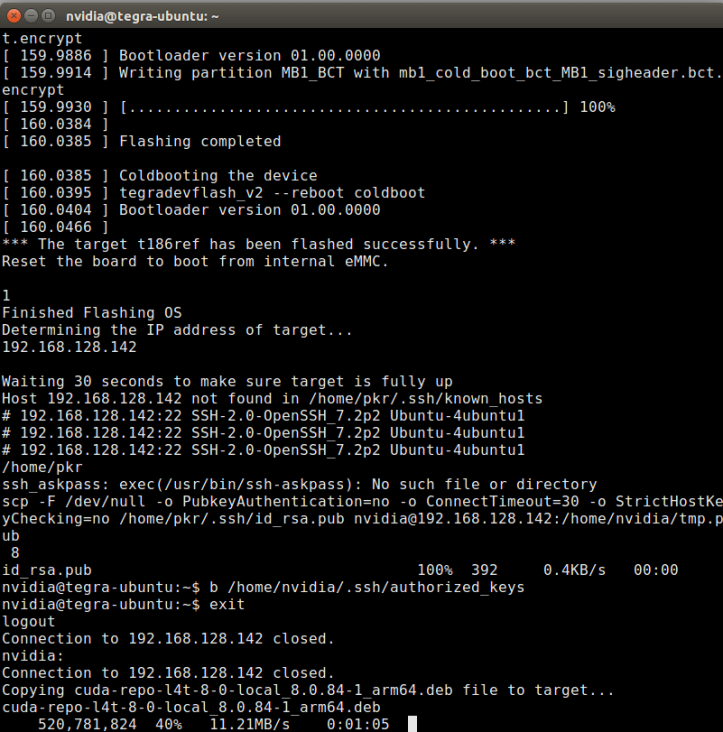
- After a few steps (before step 15 of installation pdf), the host computer will try to communicate, using IP address, with the TX2 to install CUDA. At this step it is highly beneficial if Ethernet was already connected to the TX2, as mentioned in the first step. If it wasn’t then you’ll end up running into many minor pains and who wants them. If everything goes well, something like shown below will show and it will start downloading CUDA files to the TX2.
- At the end it should say ‘Installation of target components finished, close this window to continue’. CUDA 8.0 should now be installed at ‘/usr/local/cuda-8.0’ on the TX2, do check.
- Next git clone Dave Selinger’s patched OpenCV files. He has basically followed all the patches of cherry pick and everything mentioned on the OpenCV page and published this for our benefit. Use the following commands:
git clone https://github.com/daveselinger/opencv git checkout 3.1.0-with-cuda8 - Next install the required dependencies, as mentioned on the OpenCV doc page. You can do them using:
sudo apt-add-repository universe
sudo apt-get update
and
sudo apt-get install \
    libglew-dev \
    libtiff5-dev \
    zlib1g-dev \
    libjpeg-dev \
    libpng12-dev \
    libjasper-dev \
    libavcodec-dev \
    libavformat-dev \
    libavutil-dev \
    libpostproc-dev \
    libswscale-dev \
    libeigen3-dev \
    libtbb-dev \
    libgtk2.0-dev \
    pkg-config
Besides these, install cmake using:
sudo apt-get install cmake
I did not install additional python bindings. Python 2.7 was already there.
- Prepare the build directory and go inside that:
mkdir build
cd build
- From the OpenCV page, I used the TX1 cmake command line. I removed DOPENCV_TEST_DATA_PATH line. I used DCUDA_ARCH_BIN=6.2. In the last line of the cmake command, instead of ‘../opencv’ I used ‘..’ as right now I am in build directory and want the files to be built in the build directory. Also I want to install it in /usr/local so have put that.
cmake \
    -DCMAKE_BUILD_TYPE=Release \
    -DCMAKE_INSTALL_PREFIX=/usr/local \
    -DBUILD_PNG=OFF \
    -DBUILD_TIFF=OFF \
    -DBUILD_TBB=OFF \
    -DBUILD_JPEG=OFF \
    -DBUILD_JASPER=OFF \
    -DBUILD_ZLIB=OFF \
    -DBUILD_EXAMPLES=ON \
    -DBUILD_opencv_java=OFF \
    -DBUILD_opencv_python2=ON \
    -DBUILD_opencv_python3=OFF \
    -DENABLE_NEON=ON \
    -DWITH_OPENCL=OFF \
    -DWITH_OPENMP=OFF \
    -DWITH_FFMPEG=ON \
    -DWITH_GSTREAMER=OFF \
    -DWITH_GSTREAMER_0_10=OFF \
    -DWITH_CUDA=ON \
    -DWITH_GTK=ON \
    -DWITH_VTK=OFF \
    -DWITH_TBB=ON \
    -DWITH_1394=OFF \
    -DWITH_OPENEXR=OFF \
    -DCUDA_TOOLKIT_ROOT_DIR=/usr/local/cuda-8.0 \
    -DCUDA_ARCH_BIN=6.2 \
    -DCUDA_ARCH_PTX="" \
    -DINSTALL_C_EXAMPLES=ON \
    -DINSTALL_TESTS=OFF \
    ..
- It should say ‘Configuration complete’ at the end. Make sure that everything references to the correct python libraries at /usr/bin/python.
- Used ‘make -j6’ as mentioned. As recommended, did not test the build. Sometimes permission errors arise, to get around them use sudo. This step takes some time
make -j6
or
sudo make -j6
- Lastly installed opencv using ‘sudo make install’ as it also requires administrator privilege to write anything in the /usr/local folder.
- After installation run update and upgrade. Try rebooting the system. Sometimes at this step ubuntu gets stuck in login loop. To get around this open terminal by pressing Alt + Ctrl + F1. Now disable and re-enable lightdm service by using
sudo service lightdm stop
sudo service lightdm start
This time the ubuntu should be able to able to login. If login screen doesn’t appear on its own, reboot using
sudo reboot
